
背景
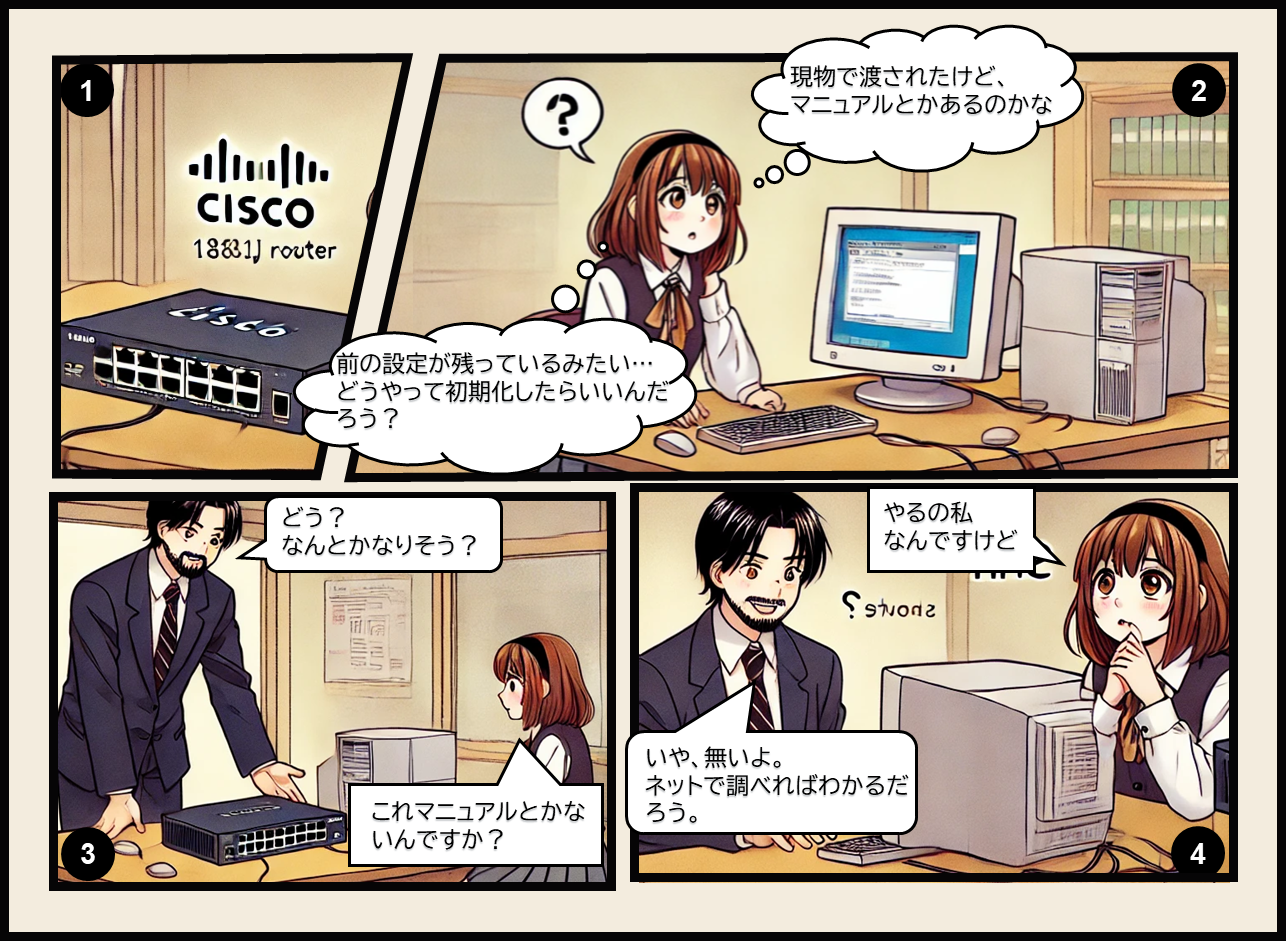
社内ネットワークと AWS を VPN で接続するために、ついに VPN ルーターが支給されました。
前回、設定にはパソコンに接続する必要があることがわかり、Ubuntu のノートパソコンとのシリアル接続を試みました。
こちらは以下の記事で紹介していますので、興味があればご参照ください。

ここから設定をしていこうと思いますが、どうやら以前の設定が残ってしまっている状況でした。
初期化をしようにもマニュアルがなく、また、公式ページでもサポートしていないためか、該当ページは削除されてしまっていました。
方法
馴染みのある方なら簡単なのかもしれませんが、今後のためにメモとして手順を残しておきます。
会社で公にはしていませんが、私の後任の社員にはこのサイトを教えるつもりです。
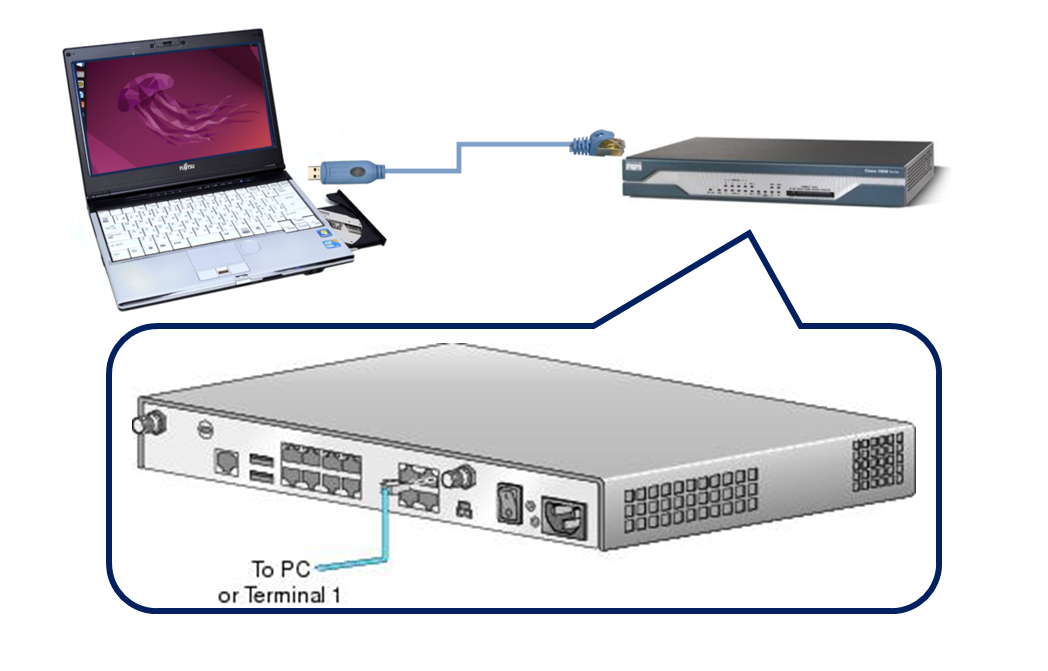
構成は前回と同じく以下のような感じです。
- ノートパソコン(Ubuntu Desktop 22.04 LTS)
- VPN ルーター(Cisco 1812J)
- USB RJ45 コンソールケーブル
初期化手順
- シリアルケーブルの USB ポートを特定し Cisco 1812J に接続します。
guest@ubuntu:∼$ sudo dmesg | grep ttyUSB
[ 34.739950] usb 1-1.3.4: FTDI USB Serial Device converter now attached to ttyUSB0
[ 34.996889] usb 1-1.3.1: pl2303 converter now attached to ttyUSB1
guest@ubuntu:∼$ cu --speed 9600 --parity=none --line /dev/ttyUSB0
Connected.

Router1>- ユーザーモード(プロンプトの先頭が >)では基本的なモニタコマンドだけしか実行できません。
設定を初期化するために特権モード(プロンプトの先頭が #)に移行します。
設定や管理などの強い権限を有するコマンドが実行できるようになります。
たまたま、今回はパスワードが cisco でした。
Router1> enable
Password: cisco- 既存の設定を削除しリロードします。
Router1# erase startup-config
Erasing the nvram filesystem will remove all configuration files! Continue? [confirm] <Press ENTER key>
[OK]
Erase of nvram: complete
*Apr  1 13:09:39.943: %SYS-7-NV_BLOCK_INIT: Initialized the geometry of nvram
Router1# reload
Proceed with reload? [confirm] <Press ENTER key>
*Apr 12 13:56:57.875: %SYS-5-RELOAD: Reload requested by console. Reload Reason: Reload Command.- その後、初期設定が自動的に始まるので、項目の内容に沿って設定していきます。
文字を入力したり、Enter キーを押す必要があります。
ここでは主に以下を設定しました。- ルーターの名前:Router1
- 特権モードのパスワード(暗号化):cisco
- 特権モードのパスワード(平文):cisco
- telnet のログインパスワード:cisco
- 社内の端末を繋ぐインターフェイス:FastEthernet1
- FastEthernet1 の IP アドレス:192.168.101.1
- FastEthernet1 のサブネットマスク:255.255.255.0(/24)
         --- System Configuration Dialog ---

Would you like to enter the initial configuration dialog? [yes/no]: yes

At any point you may enter a question mark '?' for help.
Use ctrl-c to abort configuration dialog at any prompt.
Default settings are in square brackets '[]'.

Basic management setup configures only enough connectivity
for management of the system, extended setup will ask you
to configure each interface on the system

Would you like to enter basic management setup? [yes/no]: yes
Configuring global parameters:

  Enter host name [Router]: Router1 <- YOUR ROUTER NAME

  The enable secret is a password used to protect access to
  privileged EXEC and configuration modes. This password, after
  entered, becomes encrypted in the configuration.
  Enter enable secret: cisco <- enable PASSWORD ENCRYPTED

  The enable password is used when you do not specify an
  enable secret password, with some older software versions, and
  some boot images.
  Enter enable password: cisco <- enable PASSWORD
% Please choose a password that is different from the enable secret
  Enter enable password: cisco <- enable PASSWORD AGAIN

  The virtual terminal password is used to protect
  access to the router over a network interface.
  Enter virtual terminal password: cisco <- PASSWORD FOR telnet LOGIN
  Configure SNMP Network Management? [yes]: <Press ENTER key>
    Community string [public]: <Press ENTER key>

Current interface summary

Any interface listed with OK? value "NO" does not have a valid configuration

Interface                  IP-Address      OK? Method Status                Protocol
BRI0                       unassigned      NO  unset  down                  down
BRI0:1                     unassigned      YES unset  down                  down
BRI0:2                     unassigned      YES unset  down                  down
FastEthernet0              192.168.1.10    YES DHCP   up                    up
FastEthernet1              unassigned      NO  unset  up                    down
FastEthernet2              unassigned      YES unset  initializing          down
FastEthernet3              unassigned      YES unset  initializing          down
FastEthernet4              unassigned      YES unset  initializing          down
FastEthernet5              unassigned      YES unset  initializing          down
FastEthernet6              unassigned      YES unset  initializing          down
FastEthernet7              unassigned      YES unset  initializing          down
FastEthernet8              unassigned      YES unset  initializing          down
FastEthernet9              unassigned      YES unset  initializing          down
Vlan1                      unassigned      YES unset  up                    down

Enter interface name used to connect to the
management network from the above interface summary: FastEthernet1 <- INTERFACE TO CONFIGURE

Configuring interface FastEthernet1:
  Use the 100 Base-TX (RJ-45) connector? [yes]: <Press ENTER key>
  Operate in full-duplex mode? [no]: <Press ENTER key>
  Configure IP on this interface? [yes]: <Press ENTER key>
    IP address for this interface: 192.168.101.1 <- IP ADDRESS OF INTERFACE
    Subnet mask for this interface [255.255.255.0] : <Press ENTER key>
    Class C network is 192.168.101.0, 24 subnet bits; mask is /24

The following configuration command script was created:

hostname Router1
enable secret 5 $1$F3nC$LiNukzm2zG5JG1GGhg7mE.
enable password ********
line vty 0 4
password ********
snmp-server community public
!
no ip routing

!
interface FastEthernet0
shutdown
no ip address
!
interface FastEthernet1
no shutdown
media-type 100BaseX
half-duplex
ip address 192.168.101.1 255.255.255.0
!
interface FastEthernet2
shutdown
no ip address
!
interface FastEthernet3
shutdown
no ip address
!
interface FastEthernet4
shutdown
no ip address
!
interface FastEthernet5
shutdown
no ip address
!
interface FastEthernet6
shutdown
no ip address
!
interface FastEthernet7
shutdown
no ip address
!
interface FastEthernet8
shutdown
no ip address
!
interface FastEthernet9
shutdown
no ip address
!
interface Vlan1
shutdown
no ip address
!
end


[0] Go to the IOS command prompt without saving this config.
[1] Return back to the setup without saving this config.
[2] Save this configuration to nvram and exit.

Enter your selection [2]: <Press ENTER key>
The enable password you have chosen is the same as your enable secret.
This is not recommended.  Re-enter the enable password.

media-type 100BaseX
 ^
% Invalid input detected at '^' marker.

Building configuration...
Use the enabled mode 'configure' command to modify this configuration.


Press RETURN to get started!
初期設定はこれで完了です。
補足の設定
必須ではないですが、今後進めていくうえで以下の設定をしておくことをお勧めします。
まず、特権モードから設定モードに入ります。
Router1> enable
Password: cisco
Router1# conf t
Enter configuration commands, one per line.  End with CNTL/Z.
Router1(config)#- デフォルトでは、コマンドを打ち間違えると IP アドレスに変換しようと試みます。
これを停止します。
Router1(config)# no ip domain lookup - デフォルトでは、定期的に TFTP 通信で 255.255.255.255 に接続しようとします。
接続できず「%Error opening tftp://255.255.255.255」というエラーが出力されるので無効にします。
Router1(config)# no service config- 定期的にログが出力されますが、コマンド入力中にログが出力されてしまうと、コマンドをはじめからやり直さなくてはいけません。
なので、ログの出力がコマンドの入力を妨げないようにします。
Router1(config)# line console 0
Router1(config-line)# logging synchronous- 特権モードのタイムアウトを30分0秒に変更します。
Router1(config)# line console 0
Router1(config-line)# exec-timeout 30 0
設定は以上です。
以下のコマンドで設定モードと特権モードを抜けられます。
Router1(config-line)# exit
Router1(config)# exit
*Apr  6 12:27:49.547: %SYS-5-CONFIG_I: Configured from console by console
Router1# disable
Router1>
随時お勧めの設定があれば追記していく予定です。
マニュアルもなく、インターネットの情報をまとめただけですが、これで Cisco 1812J の初期化ができました。
ここから AWS と VPN で繋ぐために、どんどん設定をしていこうと思います。
それはまた次の記事に記載します。