Background
Our company has been promoting remote work using AWS.
However, some departments require access to internal servers, making it difficult to achieve full remote work for all employees.
As a temporary solution, we utilized AWS Client VPN to connect from the VPC to the internal server.
For details, please refer to the article below:

Due to the complexity of internal server configurations, we ultimately decided to migrate to AWS Site-to-Site VPN and applied for a VPN router.
Challenges
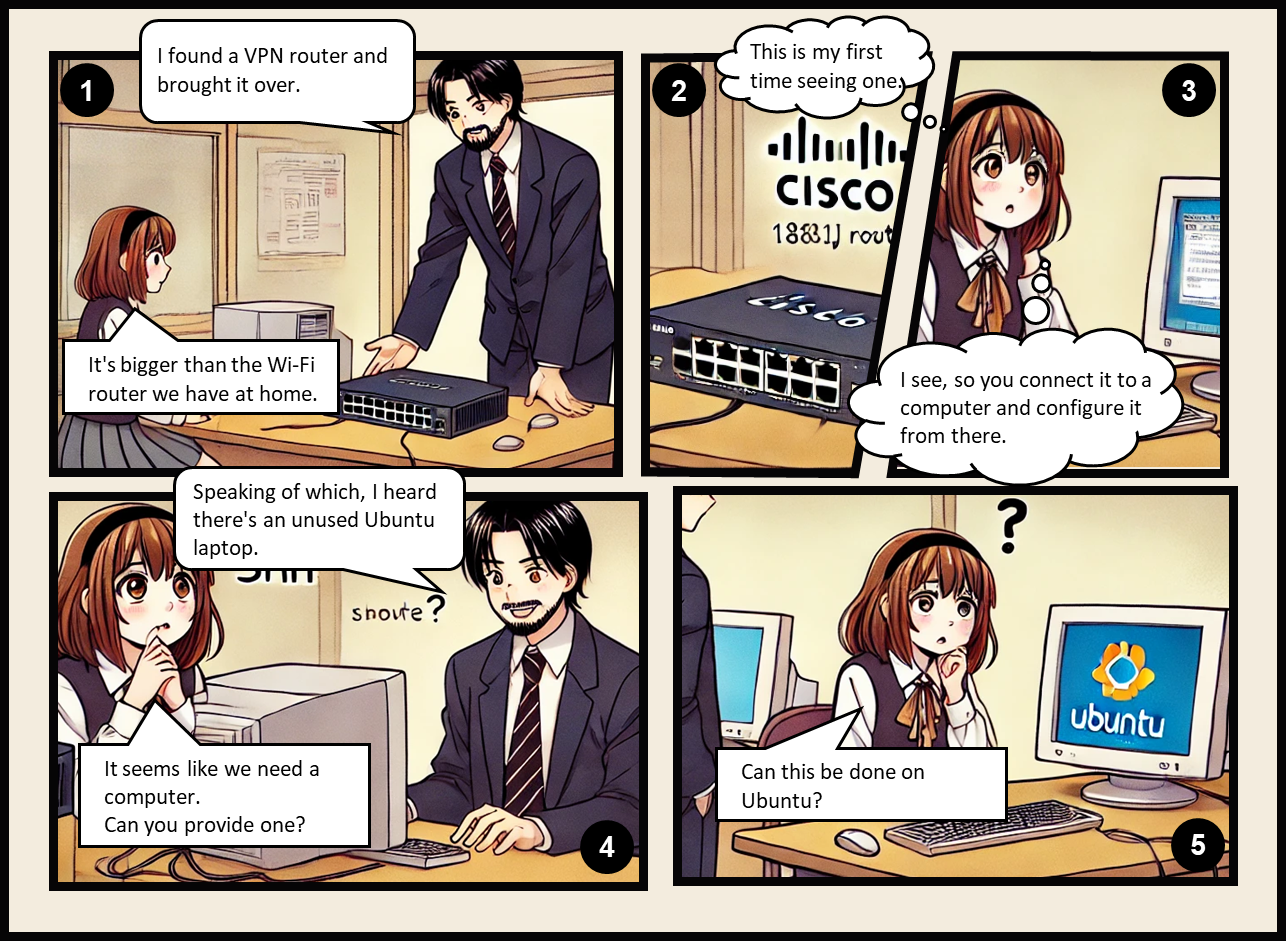
Recently, we finally received the VPN router (Cisco 1812J) we applied for.
However, it seems to be an old device retrieved from another department and came without any manual or documentation.
Additionally, upon investigation, we found that it was quite different from the Wi-Fi routers we had imagined. Configuration required connecting the device to a computer.
As a result, we applied for a computer. However, as part of the remote work initiative, most computers had already been disposed of.
The only remaining option was an older model pre-installed with Ubuntu.
Method
First, connect the computer and the VPN router using a console cable.
The equipment and setup are as follows:
- Laptop (Fujitsu LIFEBOOK S560/B)
- VPN Router (Cisco 1812J)
- USB RJ45 Console Cable
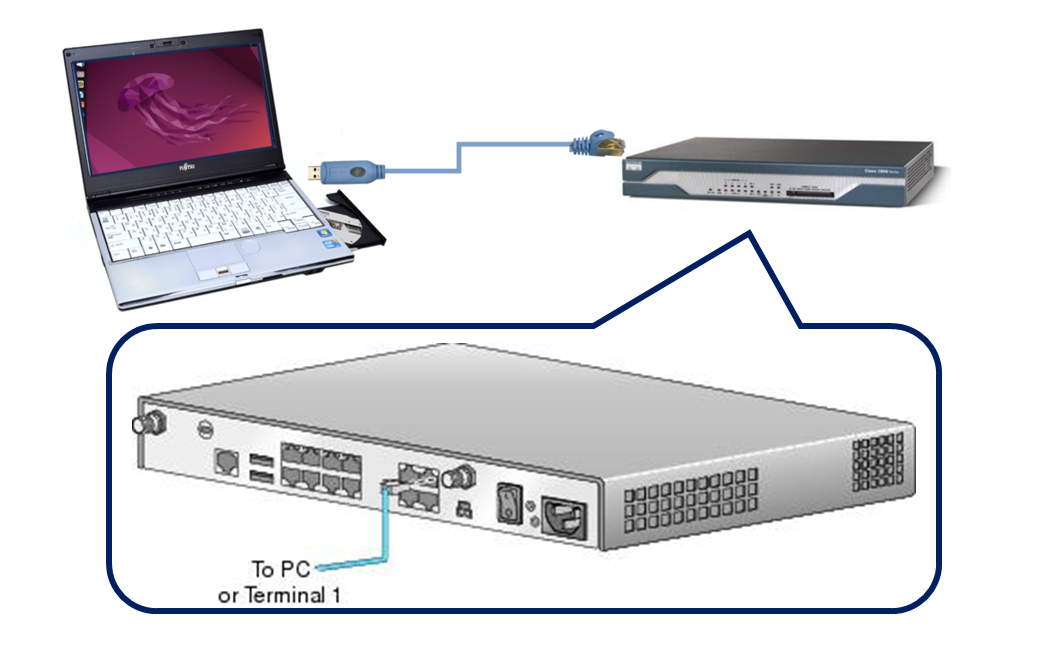
The laptop already has Ubuntu 22.04 installed.
Connection Steps
Open the Ubuntu terminal and proceed with the connection by entering commands.
- Identify the USB port used by the console cable
Use the command below to check the USB port. For example, if "Serial Device" is shown asttyUSB0, that is the corresponding port.
guest@ubuntu:∼$ sudo dmesg | grep ttyUSB
[ 34.739950] usb 1-1.3.4: FTDI USB Serial Device converter now attached to ttyUSB0
[ 34.996889] usb 1-1.3.1: pl2303 converter now attached to ttyUSB1- Connect to Cisco 1812J via serial communication using the
cucommand
Since thecucommand executes as a regular user even withsudo, you need to grant permissions to the port beforehand.
guest@ubuntu:∼$ cu --speed 9600 --parity=none --line /dev/ttyUSB0
cu: open (/dev/ttyUSB0): Permission denied

guest@ubuntu:∼$ ls -l /dev | grep USB
crw-rw----  1 root dialout 188,   0  3月 26 14:46 ttyUSB0
crw-rw----  1 root dialout 188,   1  3月 26 14:46 ttyUSB1

guest@ubuntu:∼$ sudo chmod 666 /dev/ttyUSB0

guest@ubuntu:∼$ ls -l /dev | grep USB
crw-rw-rw-  1 root dialout 188,   0  3月 26 14:46 ttyUSB0
crw-rw---- 1 root dialout 188, 1 3月 26 14:46 ttyUSB1- Connect using the
cucommand
Configuration settings for thecucommand can be found at the following URL:
https://www.cisco.com/c/en/us/td/docs/routers/access/1800/1811/hardware/quick/guide/1811qsg.html
- 9600 baud
- 8 data bits
- No parity bits
- 1 stop bit
guest@ubuntu:∼$ cu --speed 9600 --parity=none --line /dev/ttyUSB0
Connected.

Router1>
Disconnection Steps
Enter ~. to terminate the serial communication.
Router1> ~.
Disconnected.

guest@ubuntu:∼$
Recognition Steps
If the previous serial communication was not terminated correctly, connection attempts might fail. This means the previous communication is still active.
guest@ubuntu:∼$ cu --speed 9600 --parity=none --line /dev/ttyUSB0
cu: /dev/ttyUSB0: Line in use
To resolve this:
Disconnect the console cable from the USB port and reconnect it.
Alternatively, follow these steps to re-recognize the console cable:
- Check the device number from the USB port name
(e.g., the red part below is the number).
guest@ubuntu:∼$ sudo udevadm info --query=path --name=/dev/ttyUSB0
/devices/pci0000:00/0000:00:1a.0/usb1/1-1/1-1.3/1-1.3.1/1-1.3.1:1.0/ttyUSB0/tty/ttyUSB0- Specify the device number and disconnect the corresponding device.
guest@ubuntu:∼$ sudo echo -n "1-1.3.1" | sudo tee /sys/bus/usb/drivers/usb/unbind
1-1.3.1- Confirm that the device has been disconnected.
guest@ubuntu:∼$ sudo udevadm info --query=path --name=/dev/ttyUSB0
Unknown device "/dev/ttyUSB0": No such file or directory0- Re-recognize the device.
guest@ubuntu:∼$ sudo echo -n "1-1.3.1" | sudo tee /sys/bus/usb/drivers/usb/bind
1-1.3.1- Re-add administrator permissions, and then you can connect via serial communication using the
cucommand.
guest@ubuntu:∼$ sudo chmod 666 /dev/ttyUSB0

guest@ubuntu:∼$ cu --speed 9600 --parity=none --line /dev/ttyUSB0
Connected.

Router1>
At this point, we have successfully connected to the Cisco 1812J from Ubuntu.
From here, we will proceed to configure the 1812J on this computer to establish a VPN connection with AWS.
Since the device is not yet connected to the internet, it seems there’s still a long way to go. For now, this is as far as we’ve reached.
I hope this serves as a helpful reference for someone.